Welcome to Week 4 of my Development Diary. The focus of this week is to look into developing skills around using Tiled through creating levels and allowing to spawn objects at specific points. Tiled is a tilemap editor to which you import your tilesets to where these can be used to place on the editor to build levels around to which then can be exported later to use for Phaser to load in.
Previously, I was building my level by writing code to create platform objects at specific coordinates to spawn in. While this approach allows building the entire game with just coding, I found making this method’s level much slower. This is because I would have to work out where I want each platform object to be and saw this approach to be very limiting of adding more functionality to the game, such as using doors to go into another level or adding tile that can damage the player.

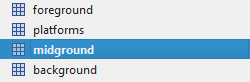
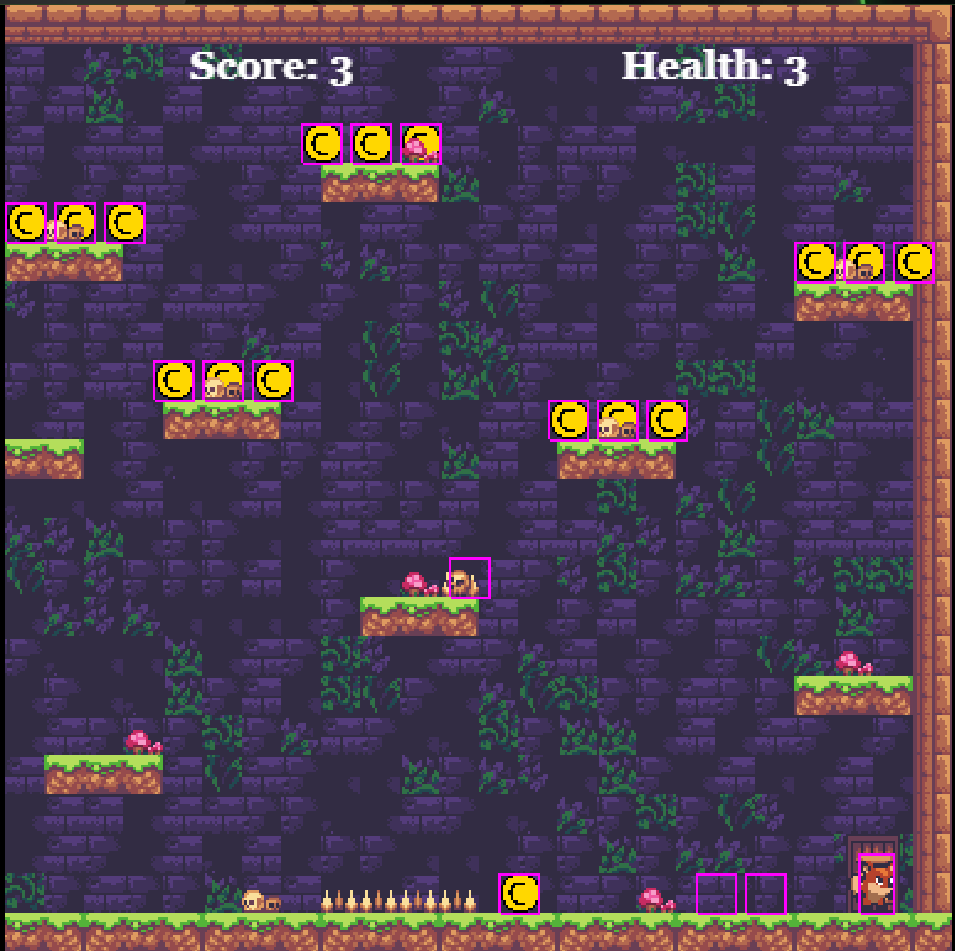
In the above image is a level that I created by using different layers that have various purposes. The first is the background represented as the purple brick in the scene, which is used to add background detail and give the player’s location. For example, they are inside some brick ruin building. Next, the platform and midground layers are used to create the platform that the player can walk on and with the midground giving support to this. For example, the grass tile represents platforms that the player can walk on and the pillar around the edge are from the midground layer. Finally, the foreground layer helps to decorate the level around with props and can also be used to create specific functionality around some of these.
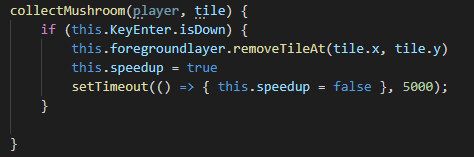
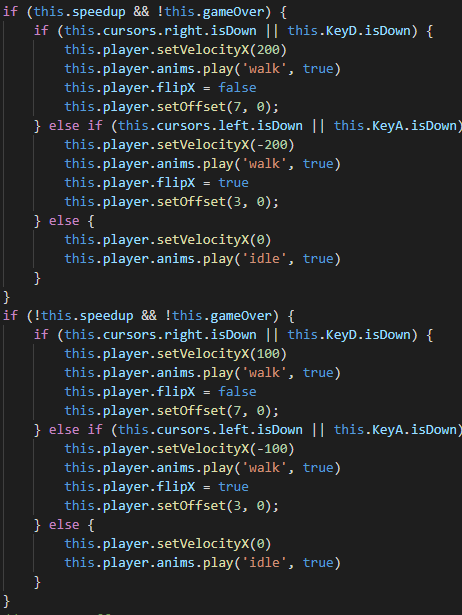
For example, the three functioning foreground layers that do something within the game are the mushrooms, the spikes and the door. The first thing to look at is the mushroom, where there is a function created behind this piece of foreground to which whenever the player press “Enter” on the keyboard, the player will consume the mushroom and have an increased movement for a short time. This works by telling the game to set speedup to true, which is run within an if statement. This differs from the normal speed movement but has a high value of velocity value. Once the boolean has been set, the game will begin with a timer of 5000 milliseconds, equal to 5 seconds, and after this, set speedup back to false and destroy the piece of the layer of where the player is located. This was at first challenging to implicate because I needed to understand how time is calculated through javascript and work out the correct method to get the function to work. To achieve this, I researched w3 Schools on Javascript timing events and followed the information there. In the end, I managed to get a power-up that temporarily gave the player extra speed upon consuming the item. I was happy with the result because this allows for creating many different possible functions using timers and even expanding a cooldown of when the player could take damage next.
For example, the three functioning foreground layers that do something within the game are the mushrooms, the spikes and the door. These work by using the foreground layer as an overlap and then setting a tileindexcalllback to allow the player to overlap on and then perform a function The first thing to look at is the mushroom, where there is a function created behind this piece of foreground to which whenever the player press “Enter” on the keyboard, the player will consume the mushroom and have an increased movement for a short time. This works by telling the game to set speedup to true, which is run within an if statement. This differs from the normal speed movement but has a high value of velocity value. Once the boolean has been set, the game will begin with a timer of 5000 milliseconds, equal to 5 seconds, and after this, set speedup back to false and destroy the piece of the layer of where the player is located. This was at first challenging to implicate because I needed to understand how time is calculated through javascript and work out the correct method to get the function to work. To achieve this, I researched w3 Schools on Javascript timing events and followed the information there. In the end, I managed to get a power-up that temporarily gave the player extra speed upon consuming the item. I was happy with the result because this allows for creating many different possible functions using timers and even expanding a cooldown of when the player could take damage next.

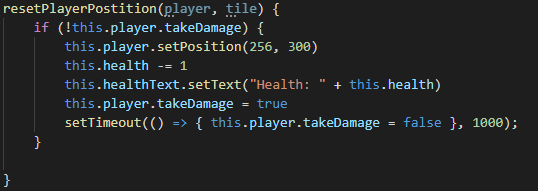
Next is the spikes, where whenever the player overlaps them, their health is taken away by one and then reset to the beginning of where they started and then updating the text. This is followed by setting the boolean of takeDamage to true to prevent further damage until the timer runs out. While currently, there is no game over function upon reaching 0 health, however, this was primarily created to further testing timer around invulnerability to when the player can next take damage as generally in games after taking damage, you will want to give the player some breathing space to adjust themself back after taking some damage as a result.
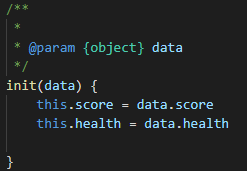
Finally, at the bottom right of the scene is a door where if the player overlaps the layer and presses enter on the keyboard, the keep will briefly start a small timer of 100 milliseconds and load another scene while carrying data across such as health and score. The timer in this function is done to prevent a bug that caused many issues upon loading the next scene, such as movement and jump speed being incorrect at times being one primary example. However, the main purpose behind creating the door is to get the game to load at a new level and carry across information that is important across the entire game. This is done by having a init(data) to take data of the player health and score that is written in the second scene from when the game took hold of the data in the previous scene as shown in figure 7. By understanding how data can be carried across levels, I can allow the game to remember what was previously set in the previous level and bring it across to the next level. Below is an example of data being carried into another level. Figure 9 being before and 10 the after effect.


Overall, my experience around with the week spending time on tiled as worked out very successfully because I can see being very useful toward building all of my levels as well as creating specific functions later to when developing my prototype. I hope to further explore around all the other available tools that tiled has to offer because I see this as a great way toward if I wanted to develop a 2D top-down RPG as it is one type of game genre I would want to develop within the future.
You can playtest the created Tiled game by clicking HERE.
Bibliography:
W3 Schools (2021) Javascript Timing Events. Available at: https://www.w3schools.com/js/js_timing.asp (Accessed 5 November 2021.)